Design, Sculpting And 3D Printing
Links
Bronze K.O.! Resizing With A Punch!
When Scanning and Resizing its Better Than Starting From Scratch!
Part 2 (06/11/15)
So we’re back with Steven Harpst Bronzes And Fine Arts, generating another bronze glove for the Nevada Boxing Hall Of Fame. We are going to re-scale the glove and 3D-print it for a 20-piece run in bronze. Here are some pictures from the consultation:
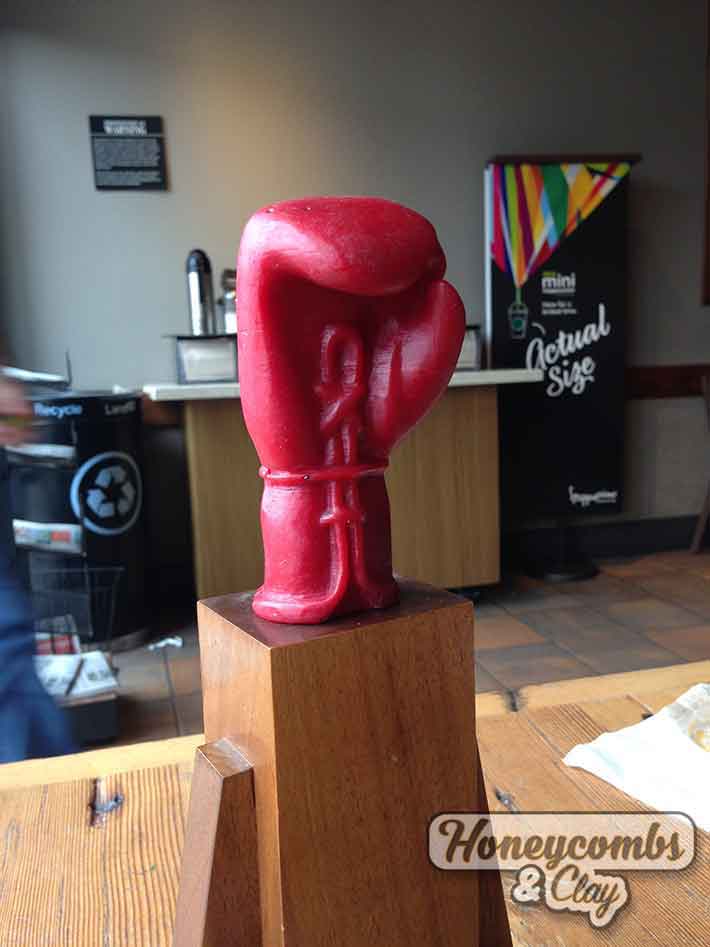
A copy made-out of “casting wax.” This wax is used to generate casted duplicates for bronze-casting. Airing and pouring vents are attached with the use of heated metal-tools and then encased in a cement-like material. Then the piece is turned upside-down and “cooked” in a furnace at high temperatures, melting the wax out (lost-wax technique…)
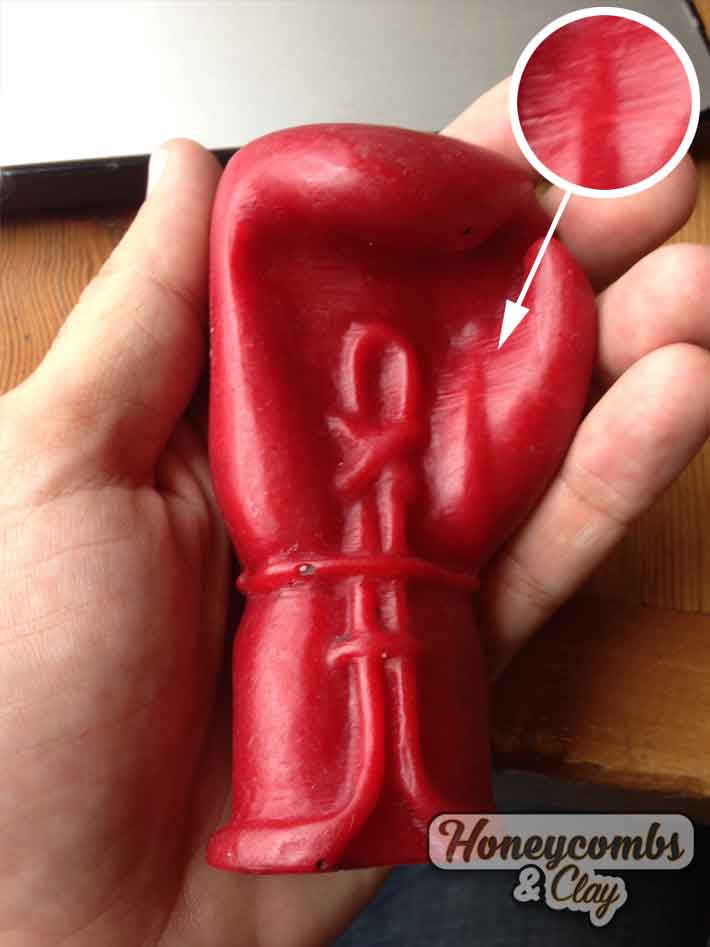
This red-wax can grab a lot of the detail from the original piece via the mold used. In the detail you can see, still, some of the striation-lines from the 3D-printed original!…
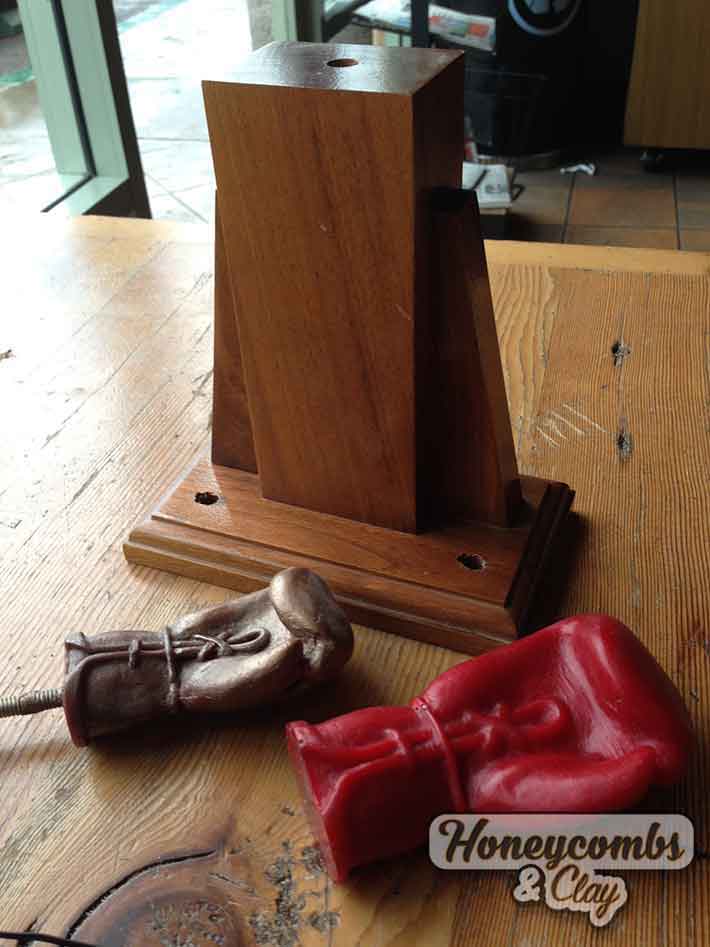
Here are the original piece with the 25% enlarged one…
Check back on the Project’s page to see the steps we are taking to generate the glove!
Cheers!
Part 1 (06/02/15)
Concept
A good friend of mine, sculptor Steven Harpst approached me with an interesting proposal: how could we take something he had sculpted in clay… and reduce it 25%?…
The average person would have said, “JUST RE-SCULPT THE D@#*&M THING!”… Well, we didn’t want to listen to such philosophical arguments and decided that we would 1) scann the clay sculpture and then, 2) 3D Print a 25% reduced glove with all the air-vents needed for the bronze foundry!…
This was a commission for an award for the N.V.B.H.O.F. (Nevada Boxing Hall Of Fame)…
1) The Original Bronze
We first scanned the original Bronze Boxing-glove Steven had done. We used a Geomagic Capture scanner from 3DSYSTEMS to get the rough cloud data of the glove. I then cleaned the data in Brush and modeled the supports - which would eventually be used as air-vents during the lost-wax casting of the Bronze pieces…
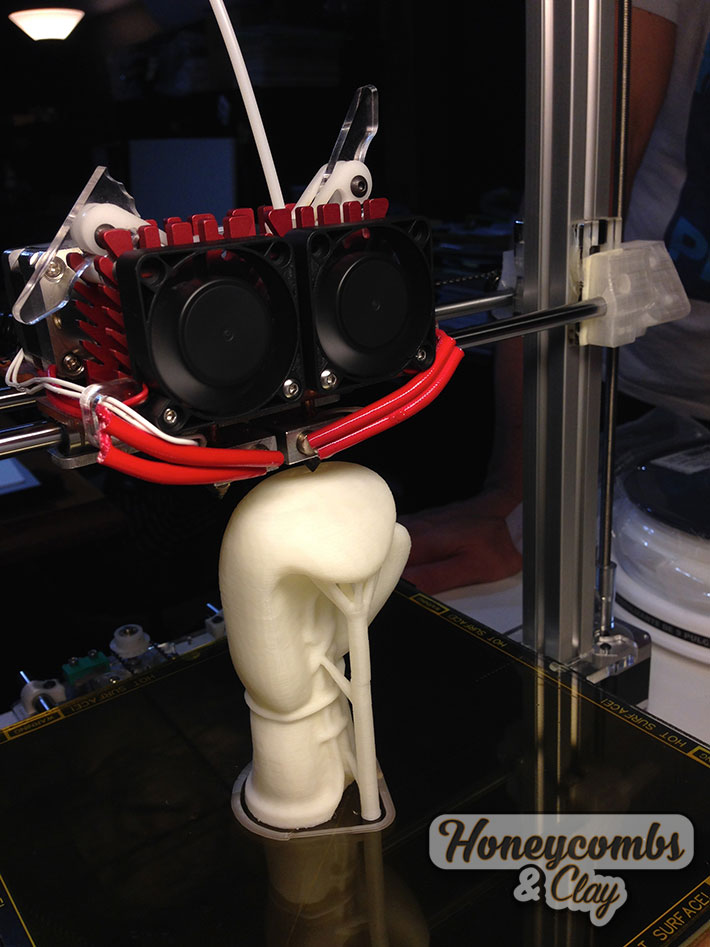
We then used the Bukobot V2 (Dual Extruder) from Deezmaker to quickly print the glove. I designed the supports to have a dual function: 1) support, obvious, and 2) air-vents for the “lost-wax casting…”
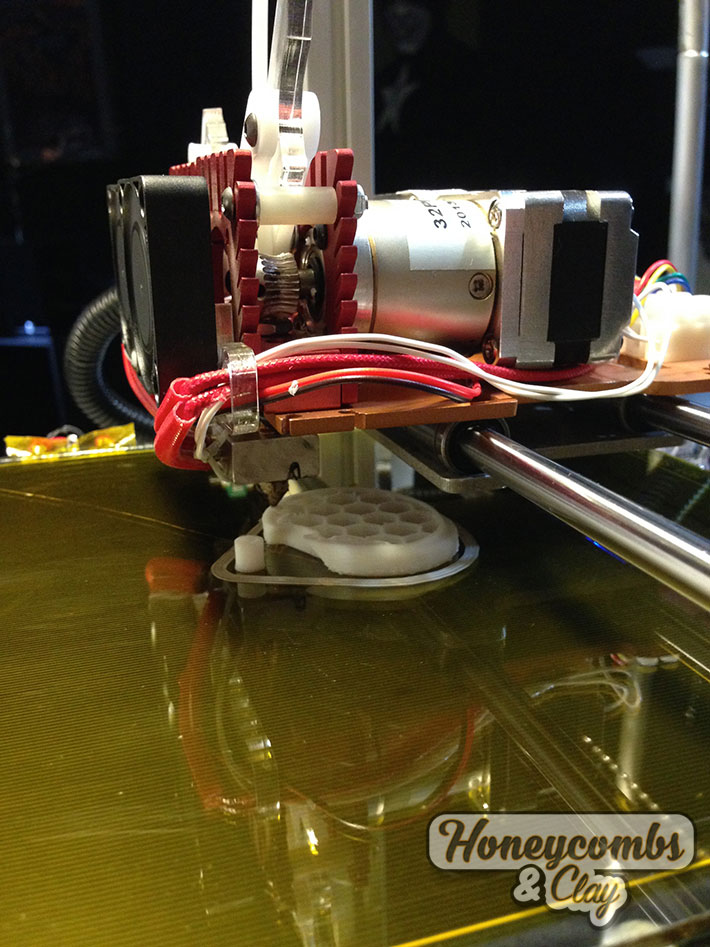
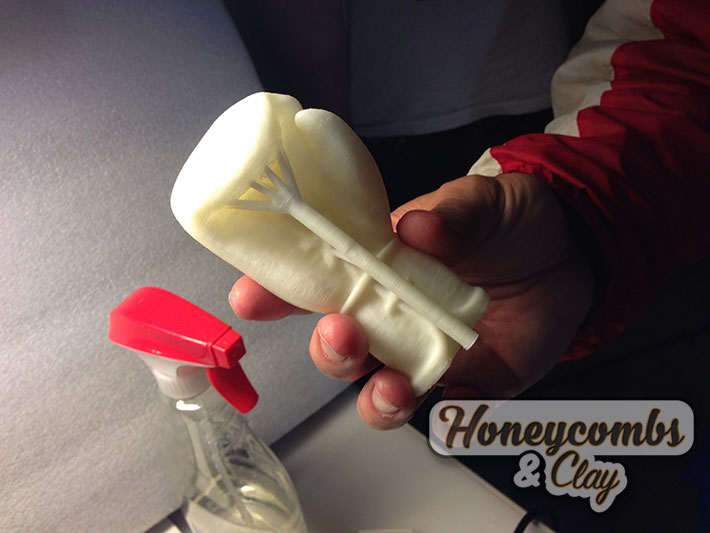
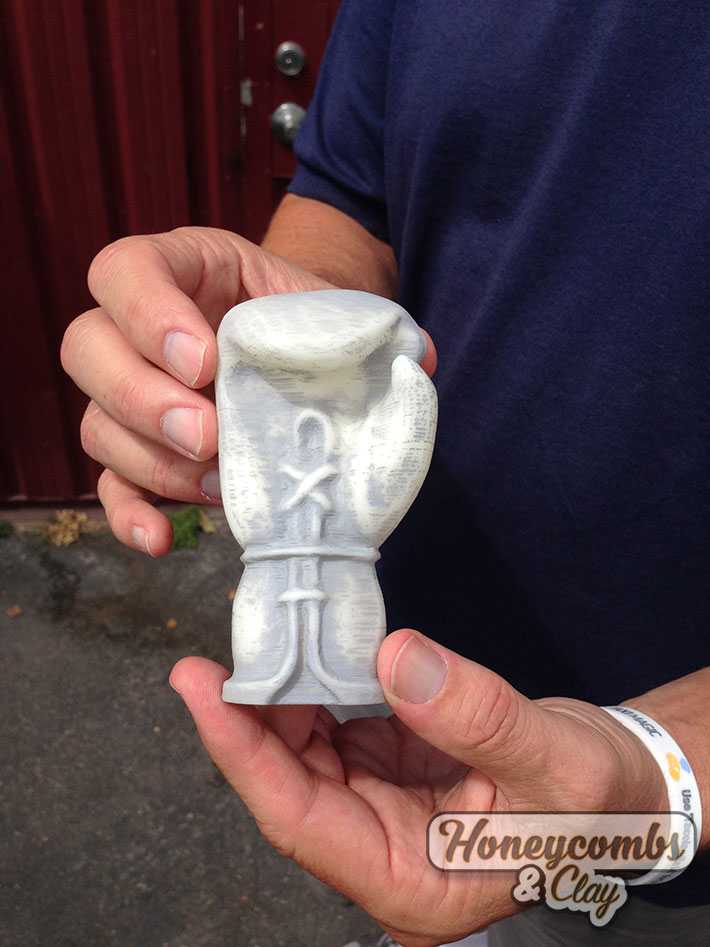
Here’s a close-up of the printing process, and if you notice the internal support… they are HONEYCOMBS!…
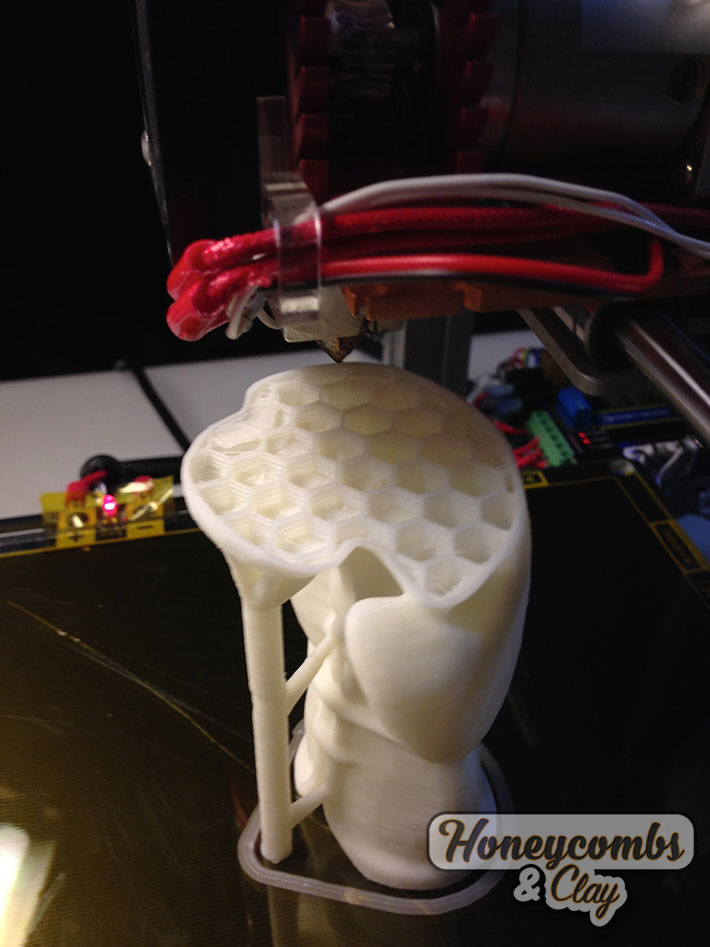
Another close-up…
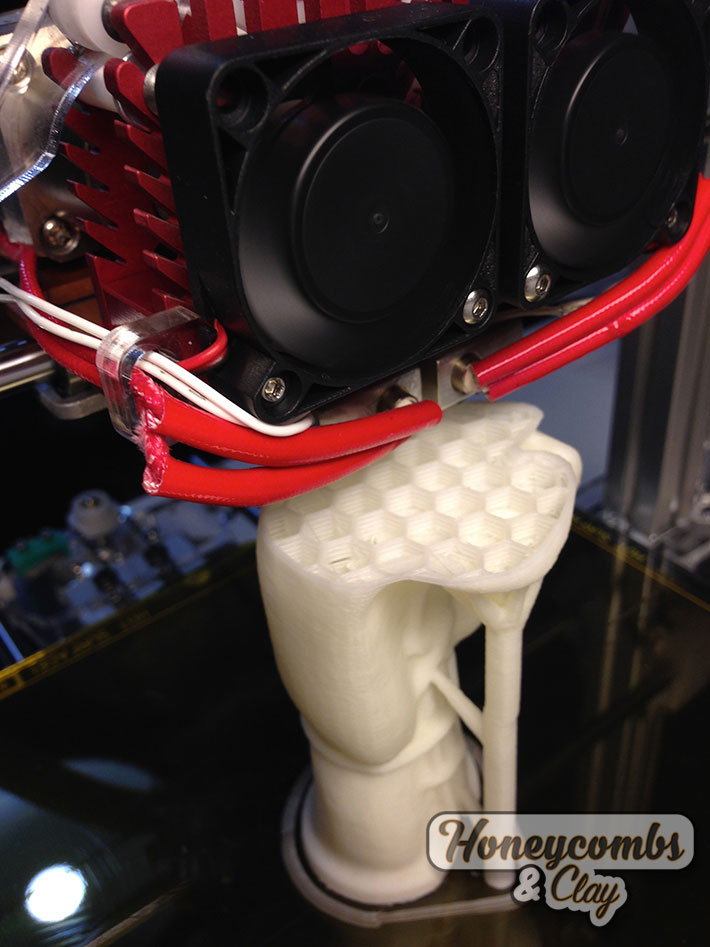
Just about done…
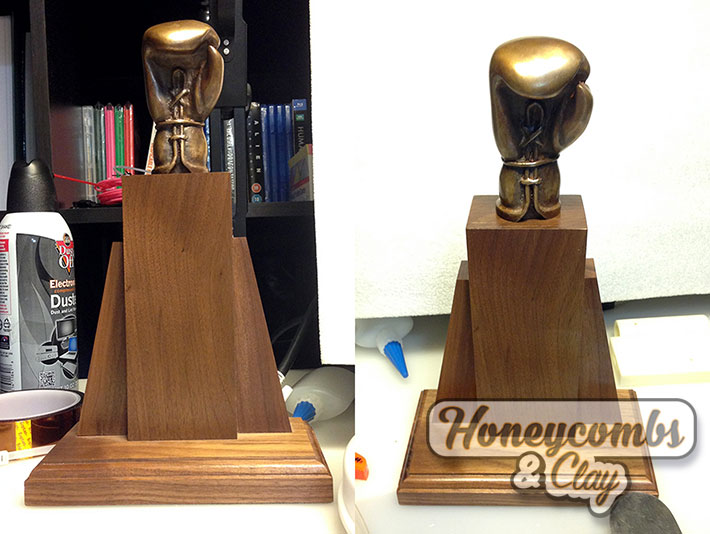
When the piece was printed, Steven examined the size - that was the main issue with this project. We did a few dry-fits with different wood-based…
We did a version without the supports (the vents,) so see how the new size looked on various wooden-pedestal…
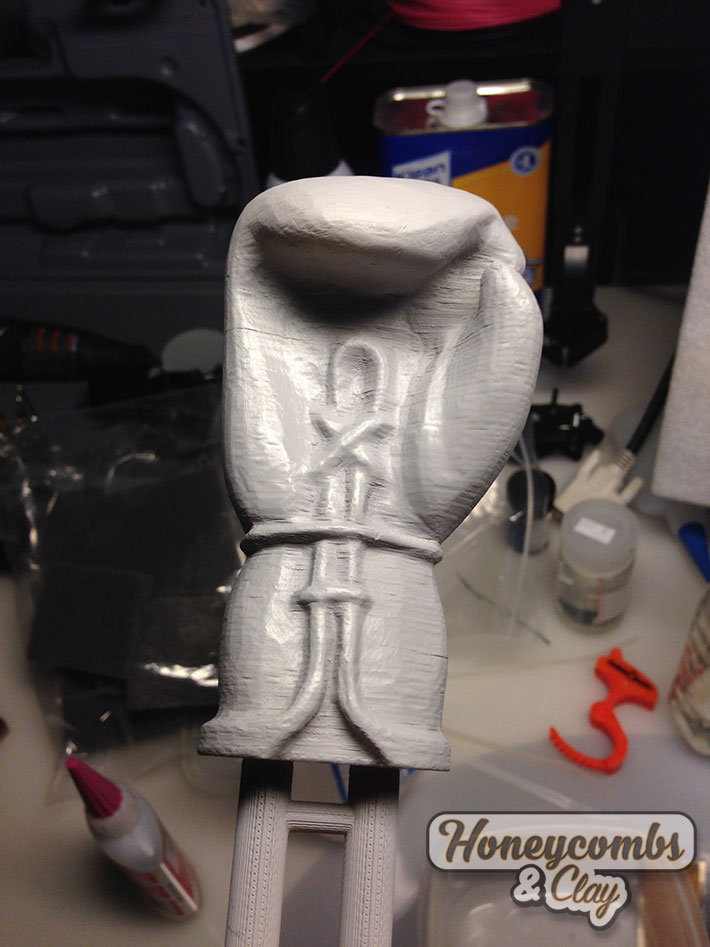
To paint the piece with primer - to fill the tinny striations from the printer, I glued the glove to a discarded piece of printed tubing, using Krazy glue!…
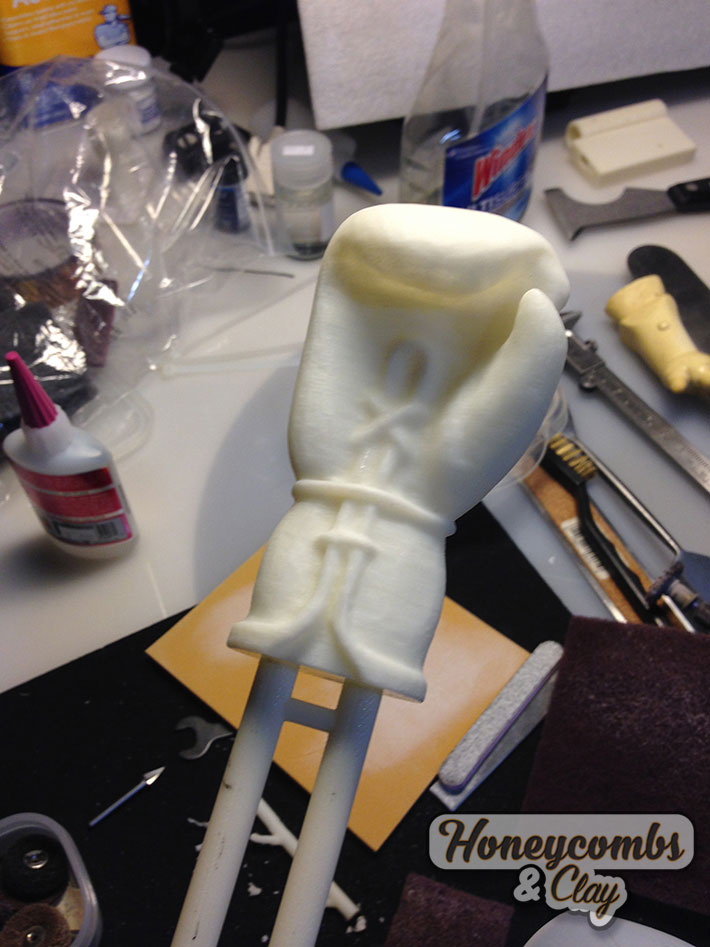
And this is what it looks like with the primer. You can see that choosing a very low resolution to “save time,” will require lots of elbow’ grease!…

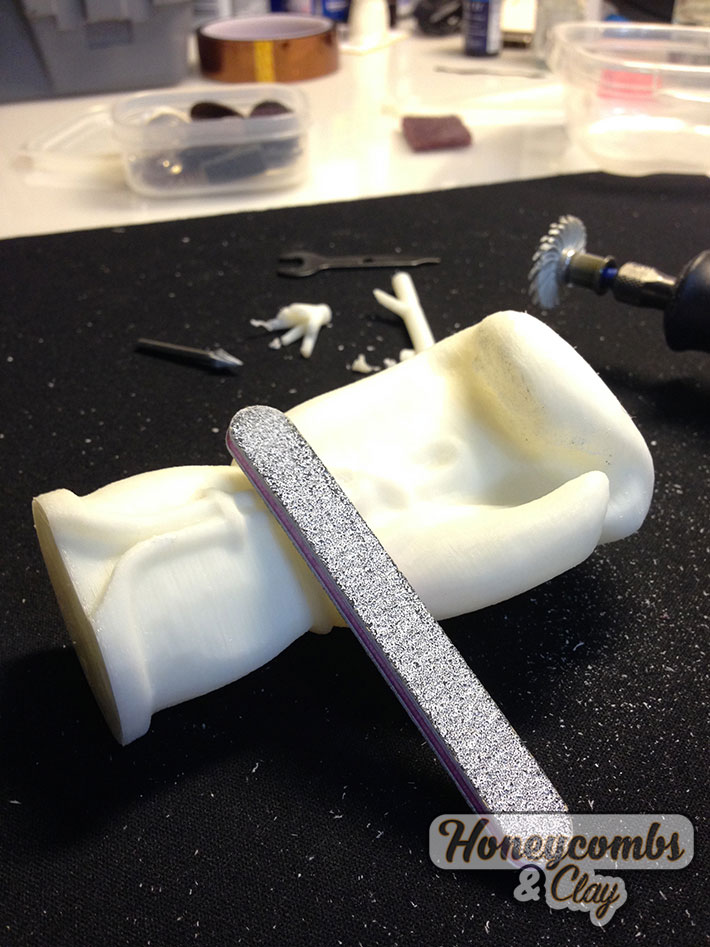
Once sanded, we got the piece done in time and with enough smoothness for a good cast…
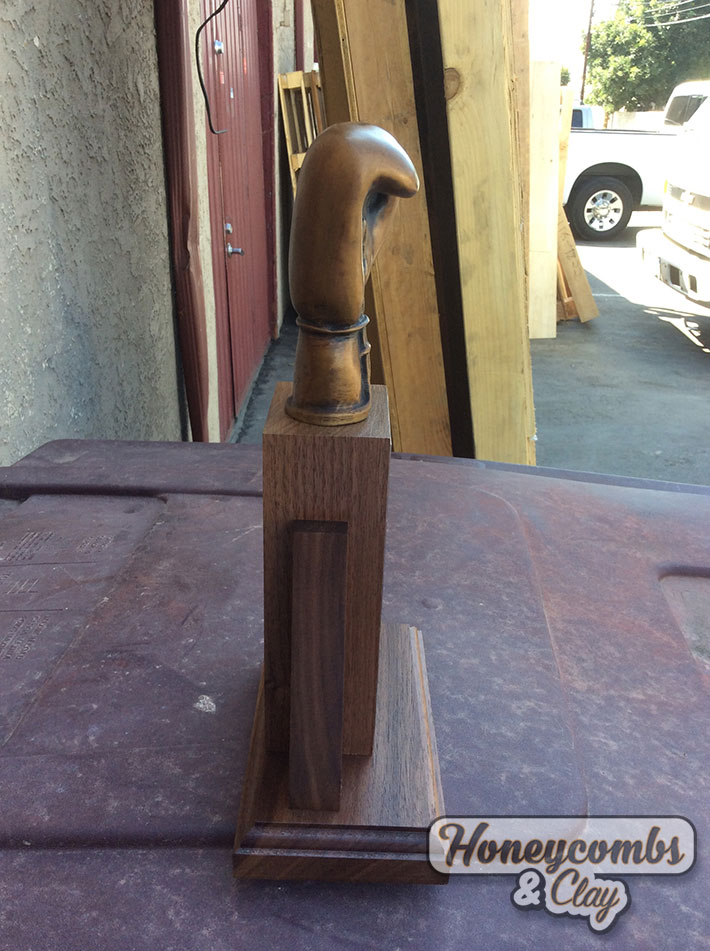
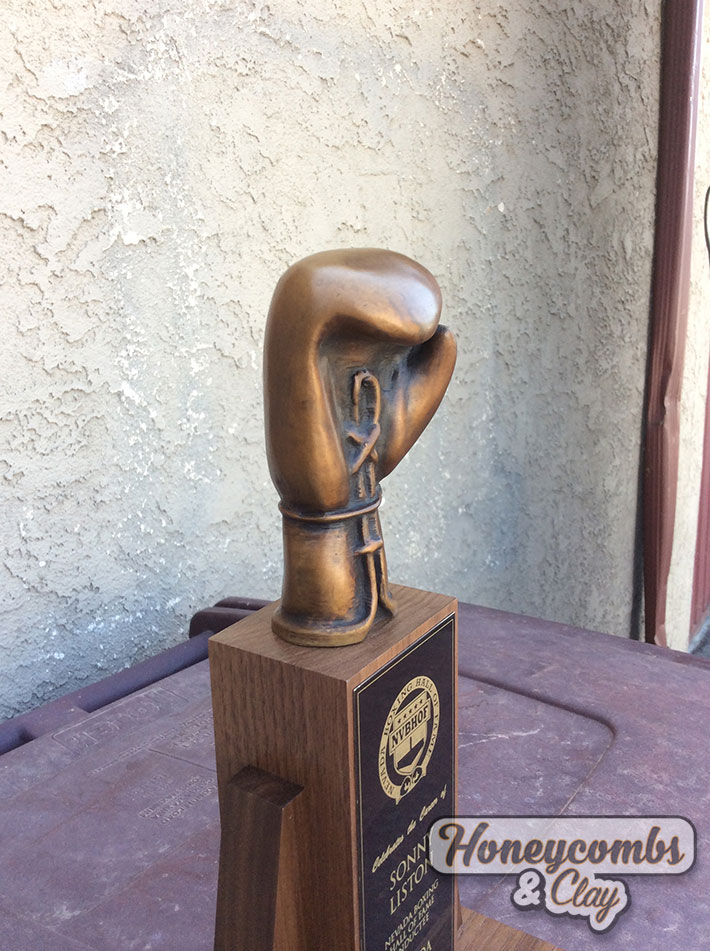
Steven took the piece to Pinzon Foundry, in the City of Commerce, where they casted the piece(s.) into bronzes, and here’s the final product:
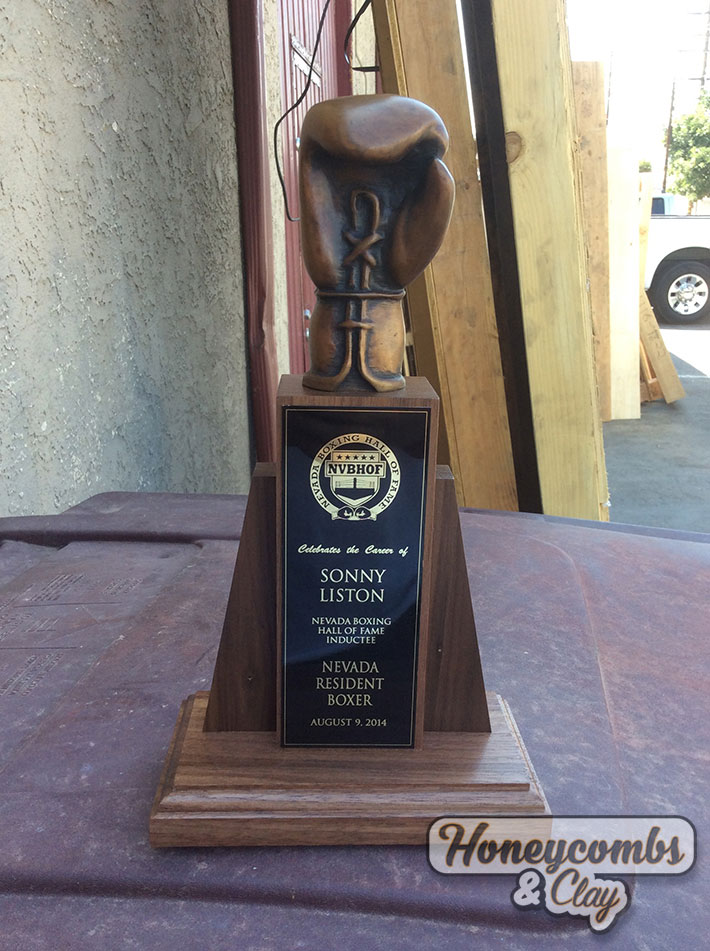
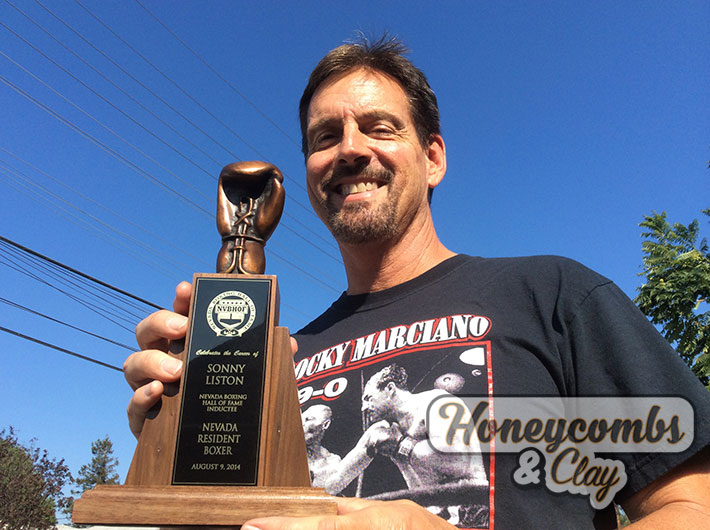
And here’s the happy costumer!
Hope this post help you learn how you can go from and actual sculpture, scan it, re-size it and re-work it and output it fro Bronze casting!
Cheers!