Design, Sculpting And 3D Printing
Links
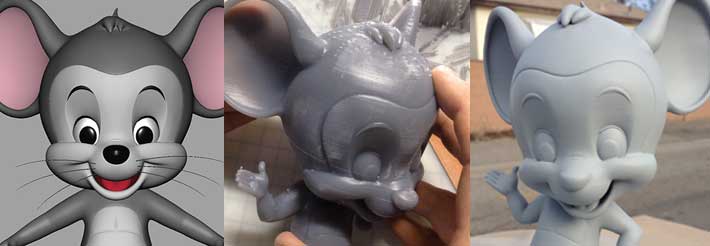
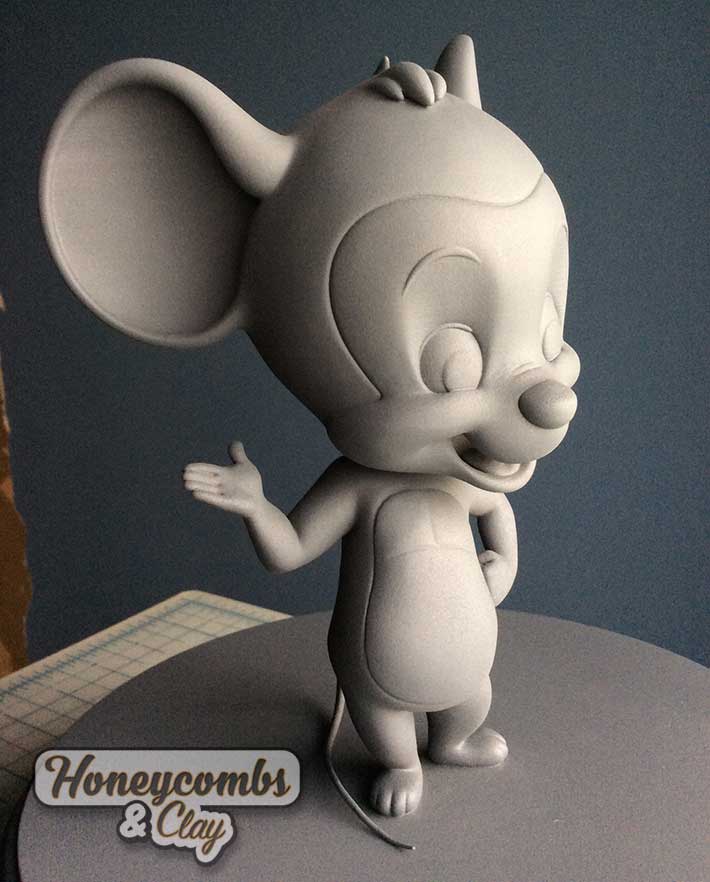
ABC Mouse.com’s Maquette
The Making-Of an Little Maquette…
3D Printing
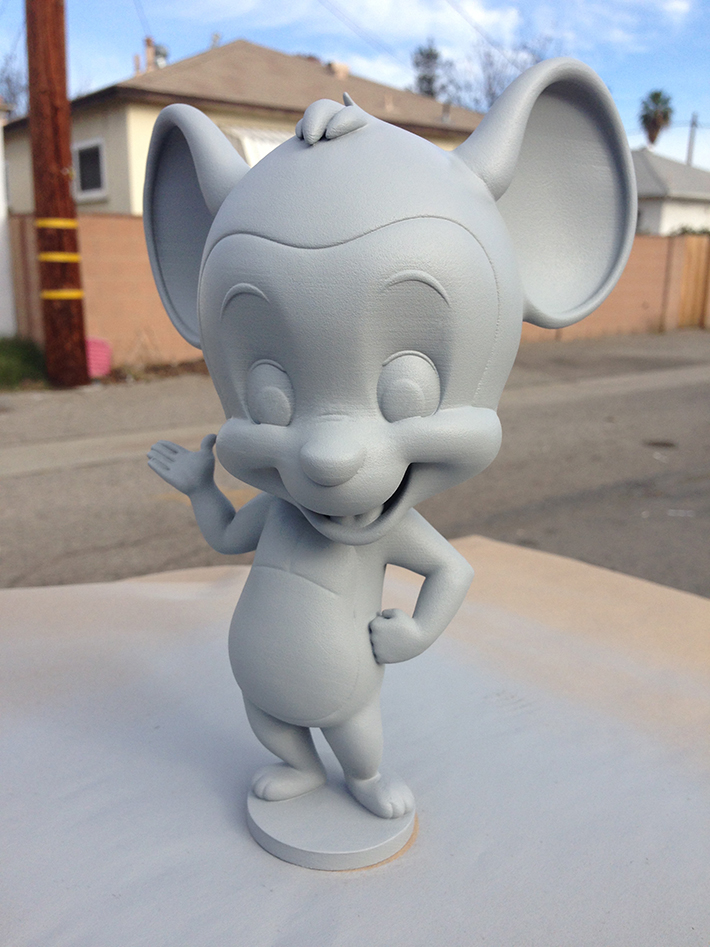
Another “interesting” project. We created a 8” maquette (20.32cm,) for a series of statues that were going to be built 5’-tall (1.524 meters) for the lobby of ABCMouse.com…
The model was started in Maya and then finished and prepared in ZBrush. It was then exported - via ZBrush’s 3D Printer Exporter-plugin, as an STL. I then opened the file and set it up for printing on the FormLabs’ Form +1 printer.
Here are some pictures of the 3D prints and why we did it this way:
The maquette was printed in 3 parts: Head/upper-body, lower body and tail…
Because the ears were so thin, there were some issues with the print, so we had to re-print the head/upper body…
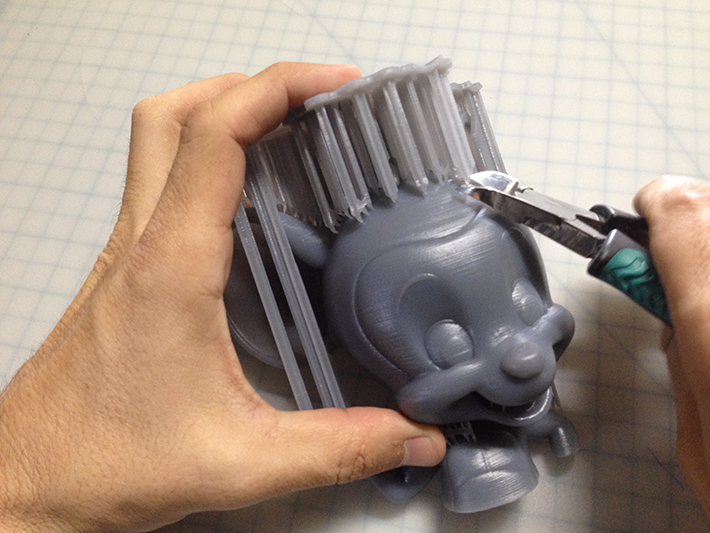
Once re-printed, it was time to remove the support structure. I used a nail-clipper for pets because its a heavy-duty tool yet small enough not be in the way…
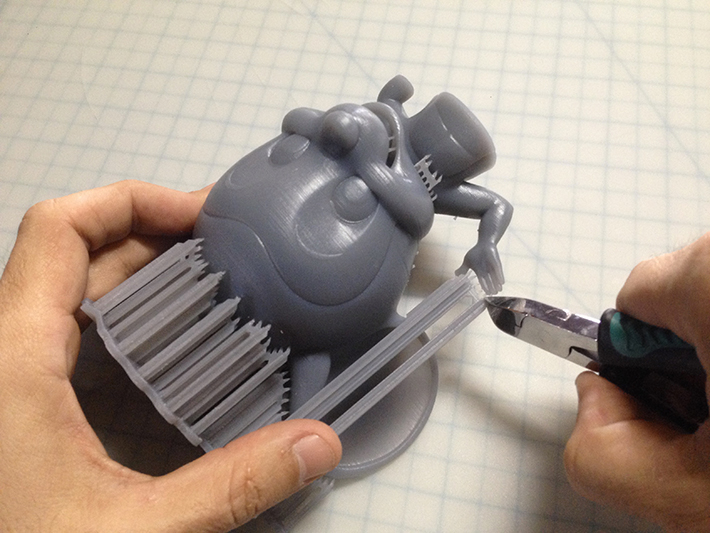
I cut away from the model to avoid creating holes where the support structure touches the model…
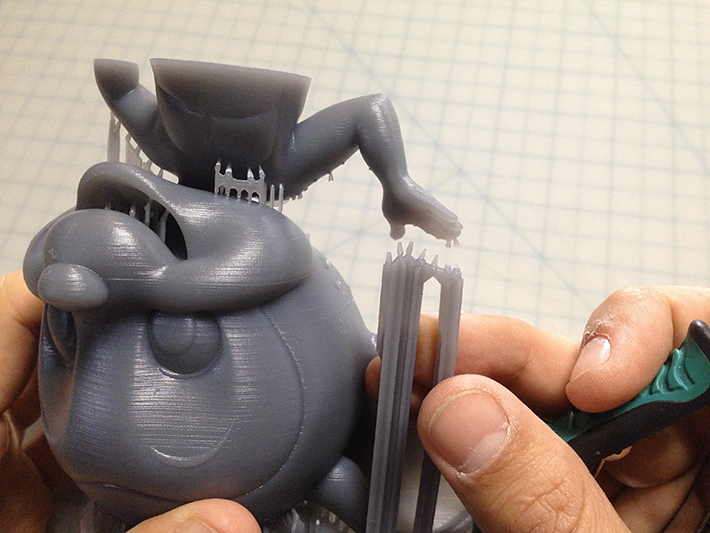
…this way I can file the part of the supports that touch the model rather than damaging the model…
It is also easier to remove the support structures by twisting them…
Some of the supports come-off easier than others, but leaving a little-bit of the support and sanding those afterwards creates a better surface than having to fill the holes and then sanding…
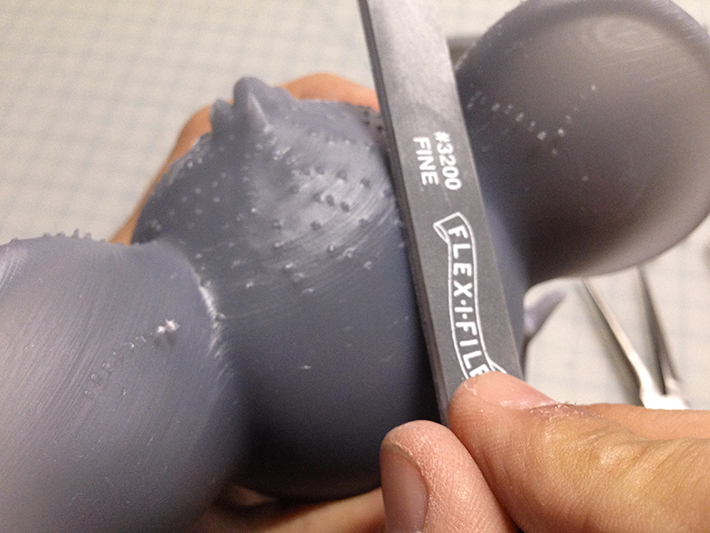
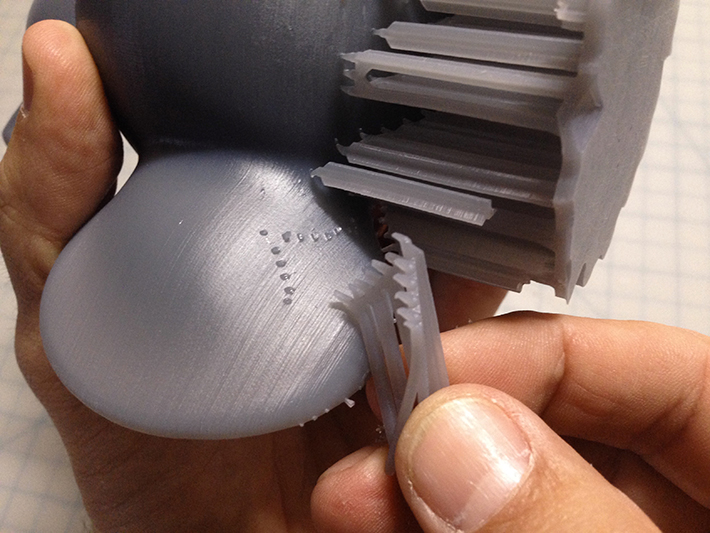
In the areas where the support structures touches the model create a “warping” on the surface. This can be fixed by sanding them with a fine #3200 scale-model file…
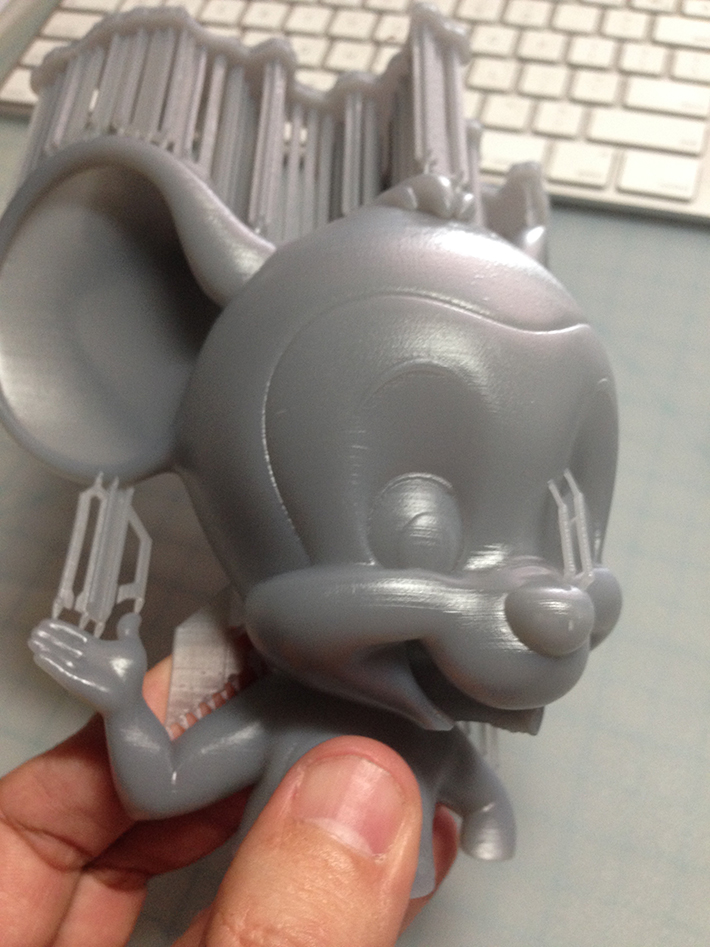
The striation of the surface has to do with the level of detail selected for the printing…
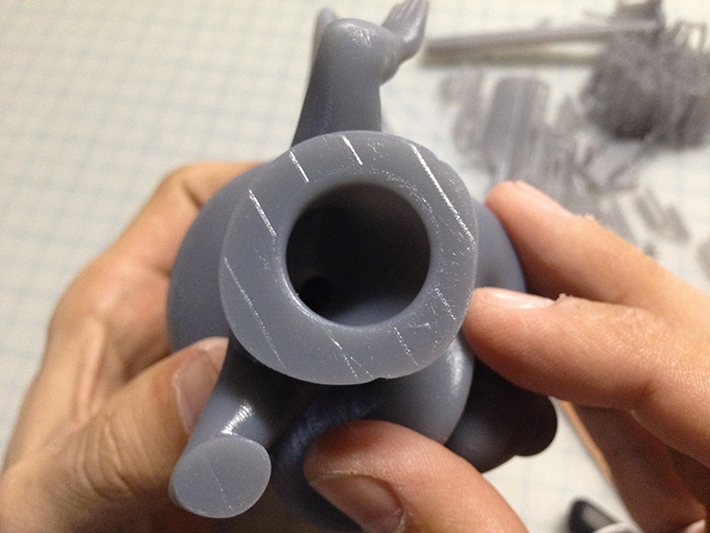
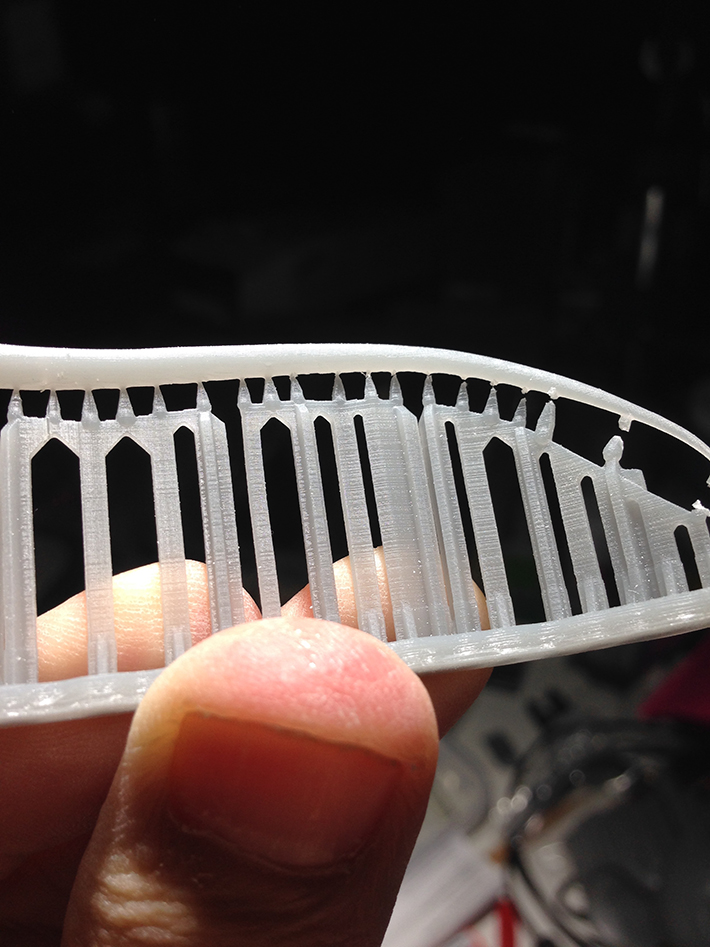
The pieces are hallow to prevent print-fails and to save on the resin used…
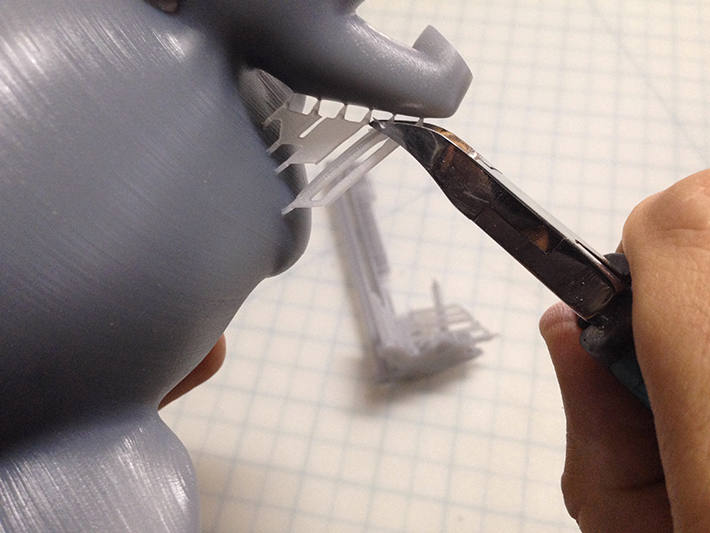
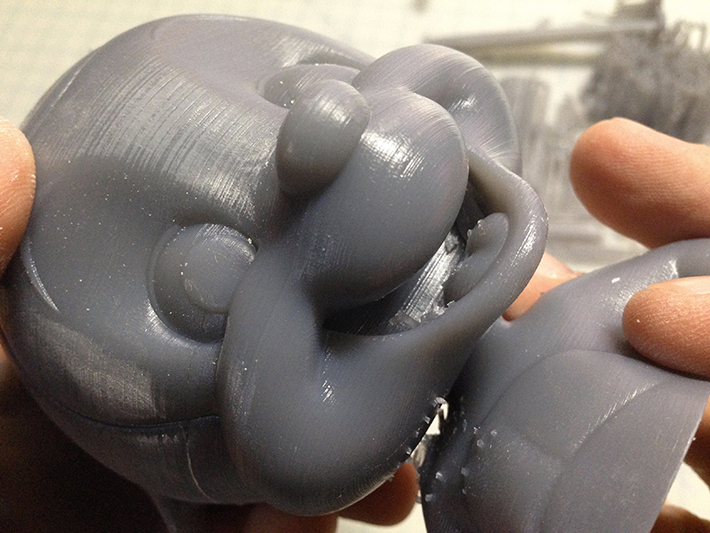
Another detail of the striation and the support-material to be sanded…
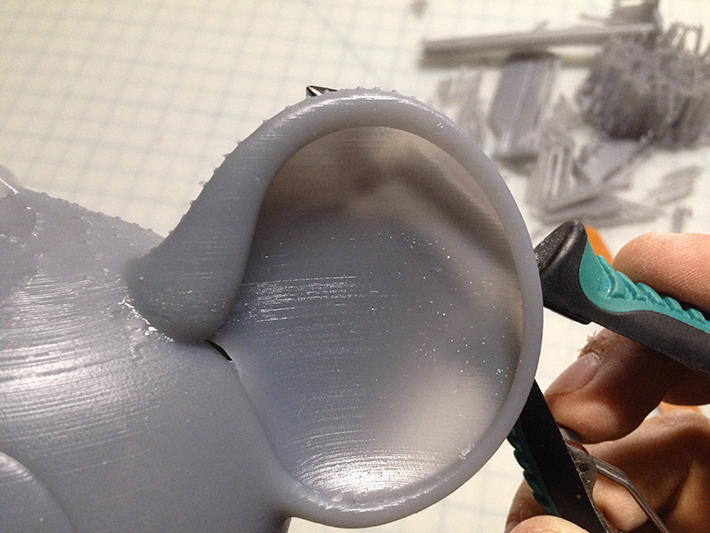
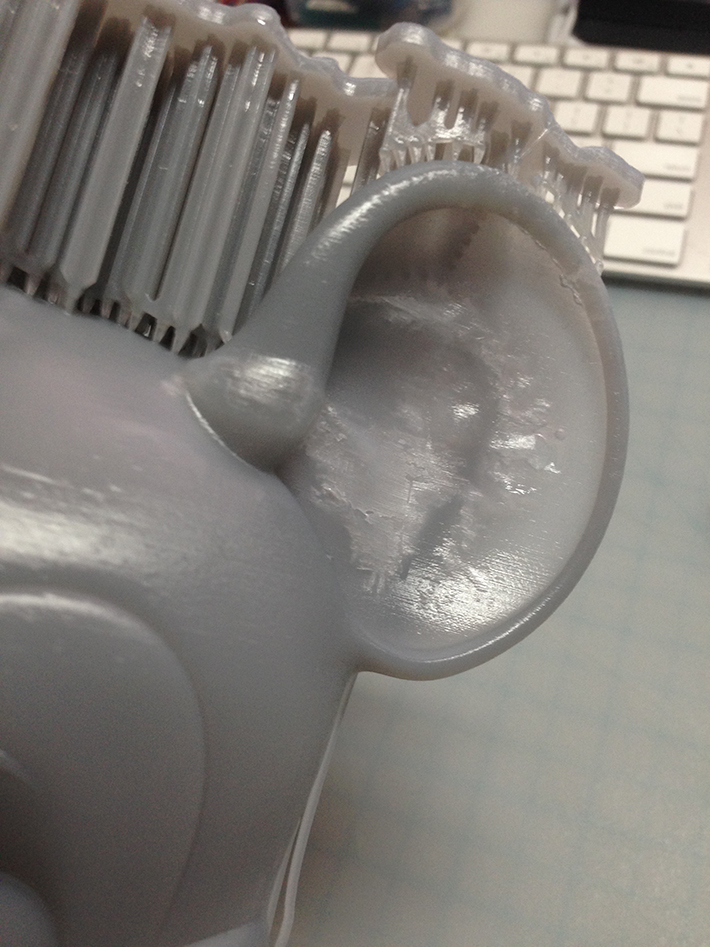
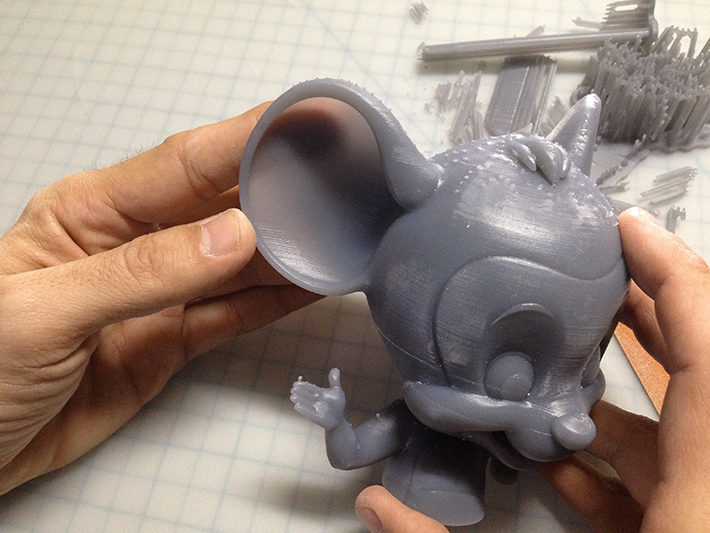
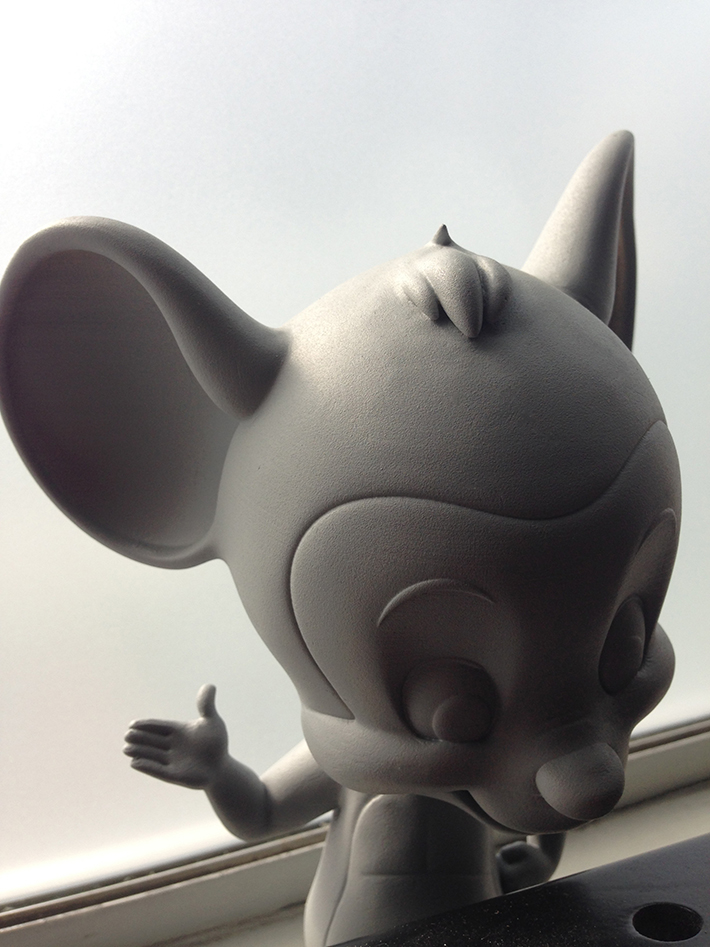
Detail of the transparency of the new ears. I had to thicken the ears to 3mm to avoid print-fails…
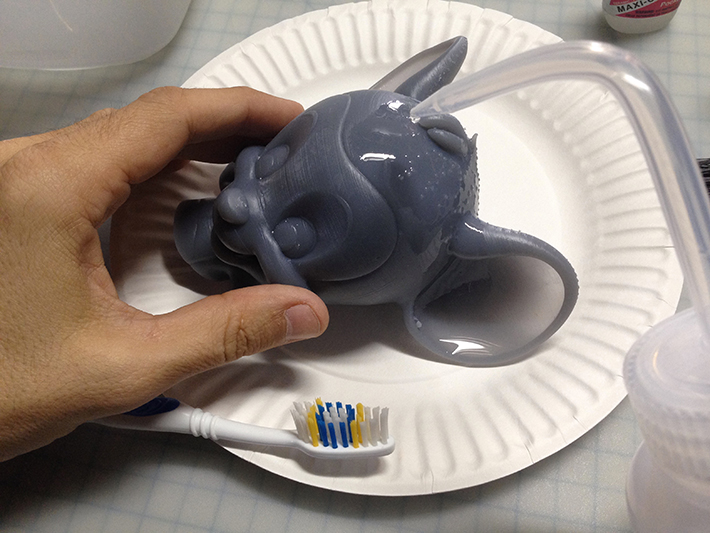
Detail of the washing of the pieces with isopropyl alcohol. This hardens the resin and gets rid of the non-cured resin around the support structures…
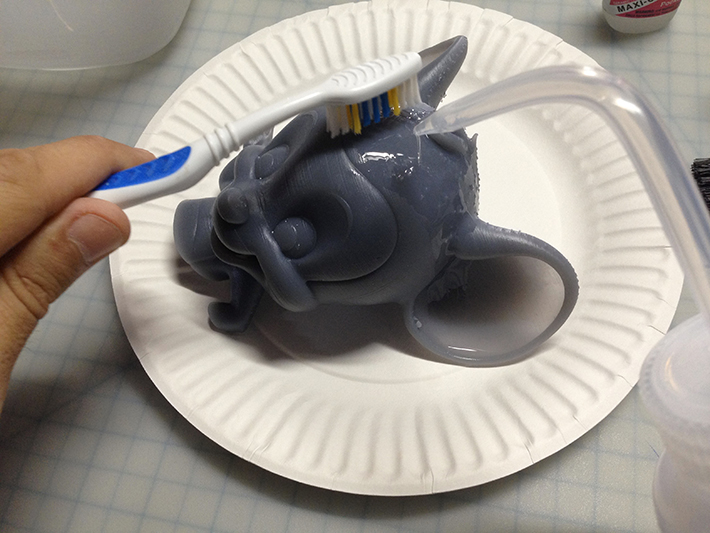
…more isopropyl alcohol and a soft toothbrush will do the trick…
Gluing and Primering
Krasy Glue and How To Hide Striation With Car-Primer…
Once the parts are glued with Krasy Glue, yes, Krasy Glue… I use a Krylon Color Master primer. This is a cheap, thick primer that you can find at any hobby/craft store. It helps hiding the striation of the print but retaining the detail-layer…
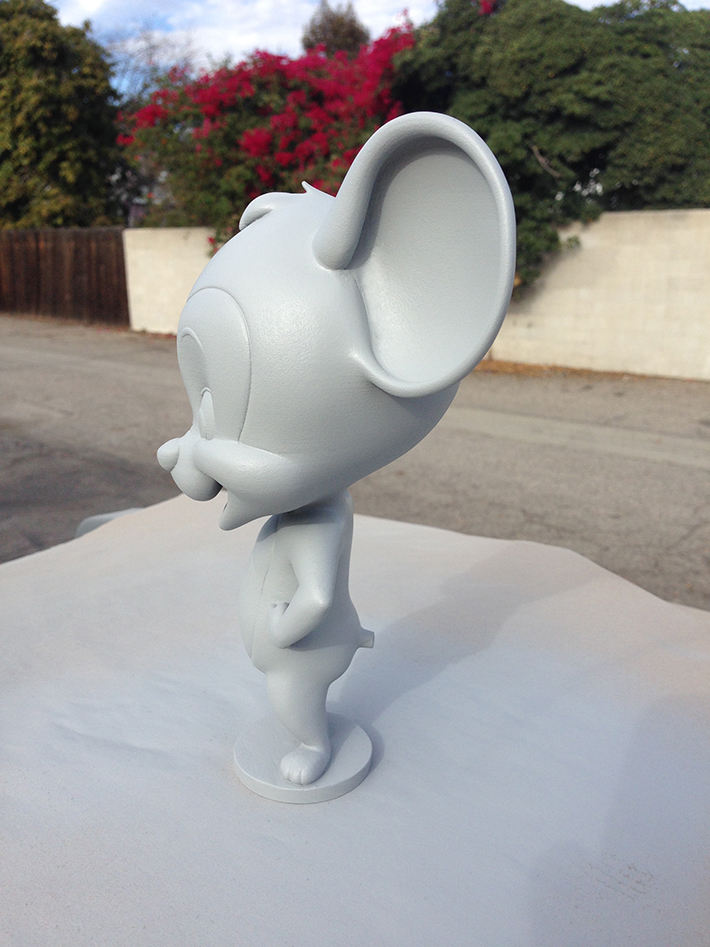
Notice that the tail was premiered and glued afterwards…
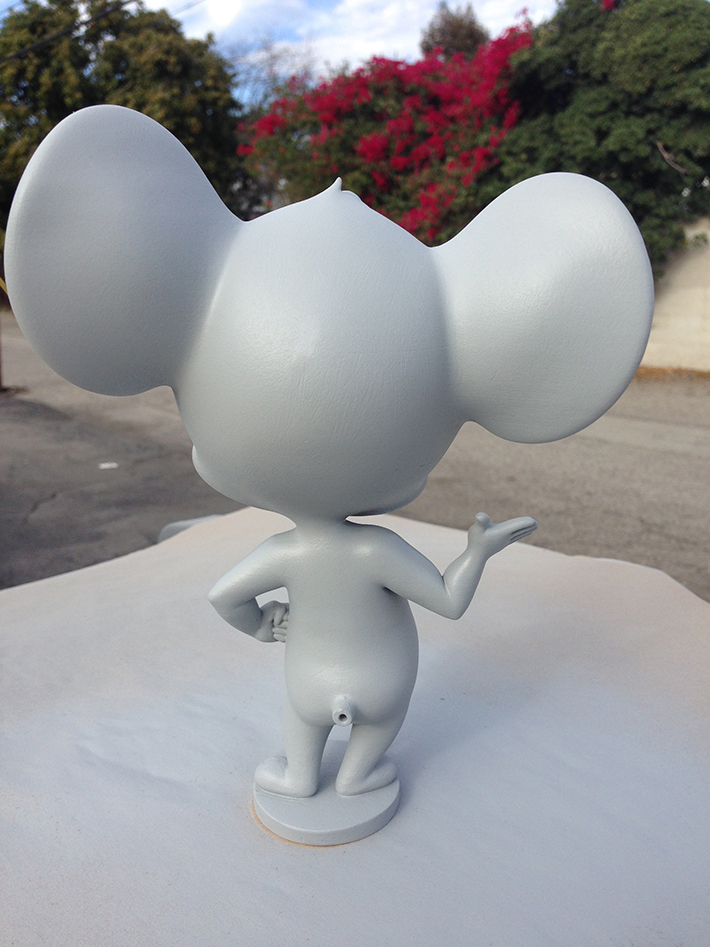
Back-side…
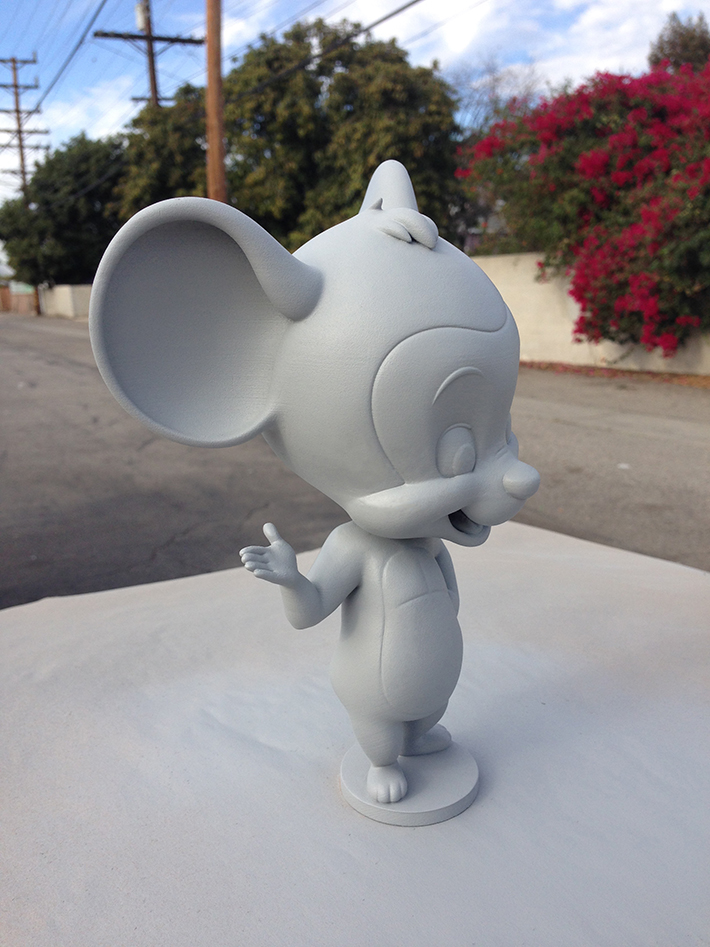
3/4 front…
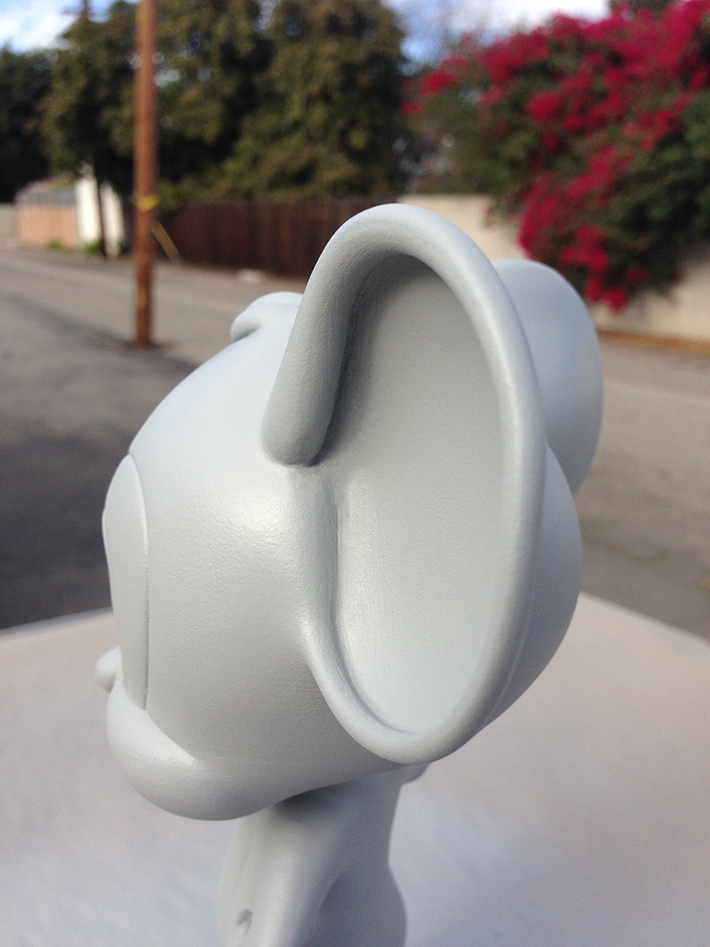
Detail of the ear…
This is the first layer of primer that will be mostly sanded. I tend to do this two or three-times, depending on what the client needs…
Placing the model by the window so that the primer cures (4 hours…)
The tail was done separately and attached after the pieces were primered and sanded…
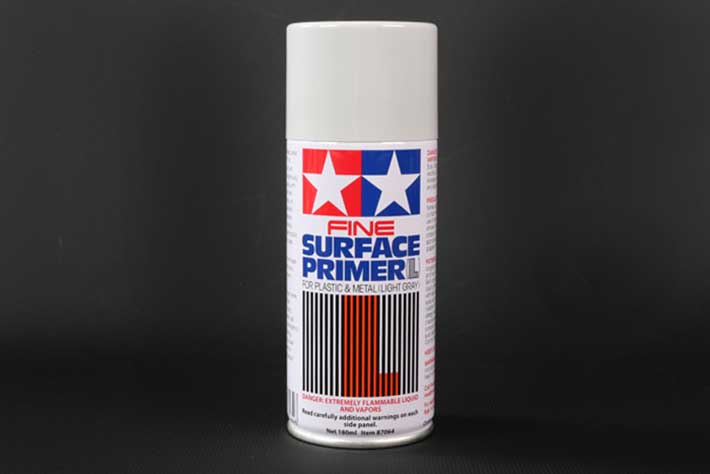
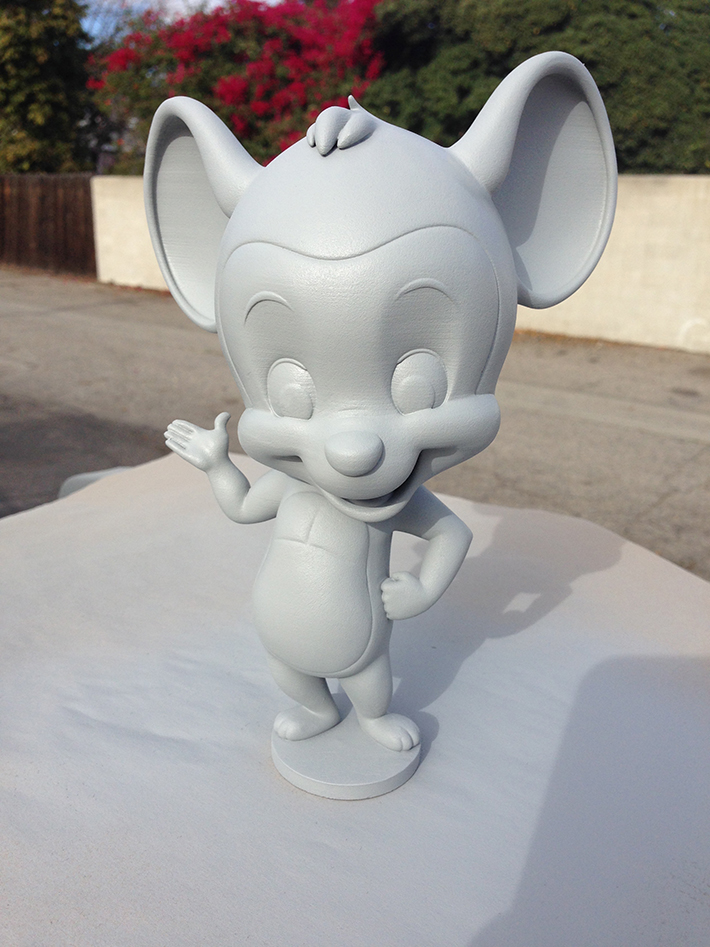
After I attach the tail I give the whole piece (attached to a base,) a last layer of Tamiya’s fine primer…
And here’s the final piece.
Well, I hope this helps someone!
Cheers!