Design, Sculpting And 3D Printing
Links
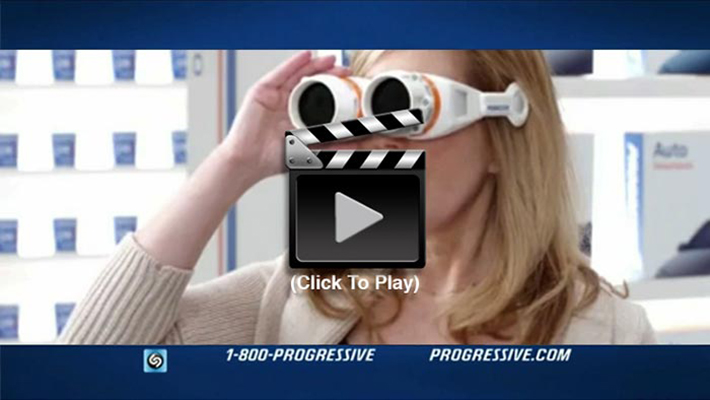
Progressive Commercial: “Coverage Checker Goggles”
CGI Prop for a National Commercial
Concept
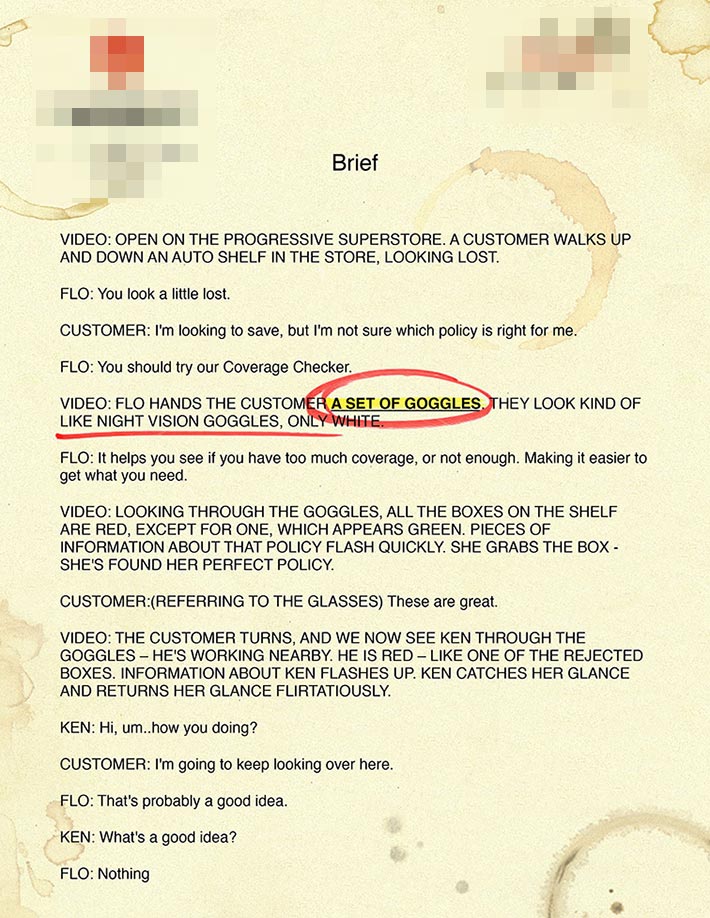
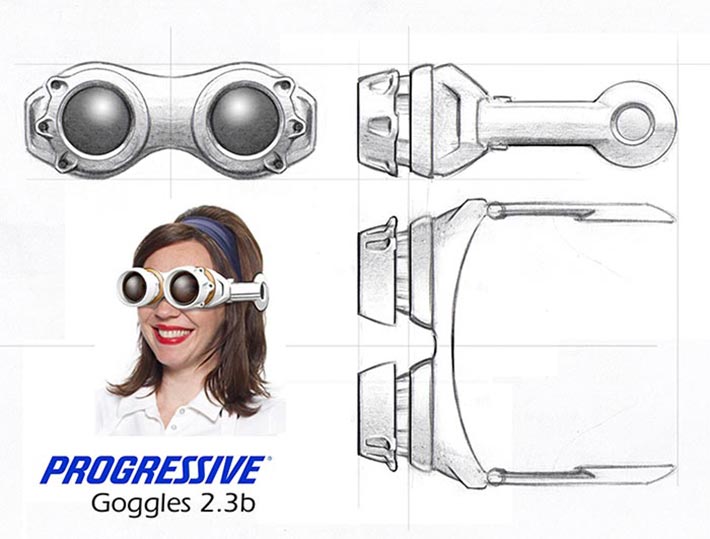
I was hired to model and 3D print a night vision goggle prop for a Progressive commercial. This was the fastest model I’ve made, adding to the fact that I went through three versions in two weeks. It all started with a Brief:
1) Designs
I then got some design(s) from the vendor.
They started with these:
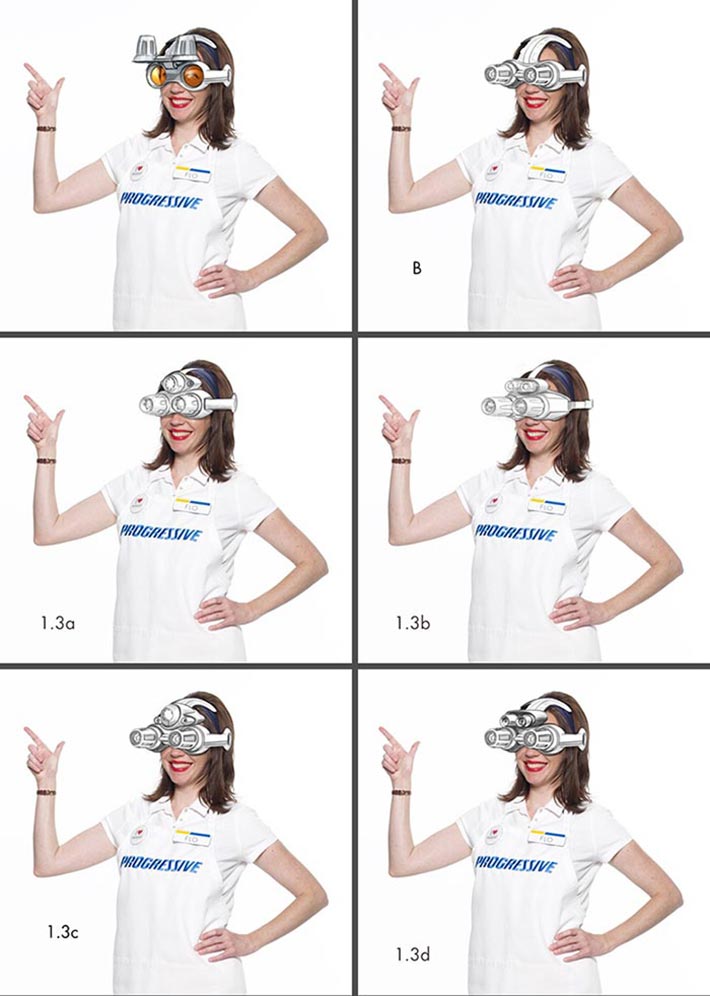
Then the design was changed to these:
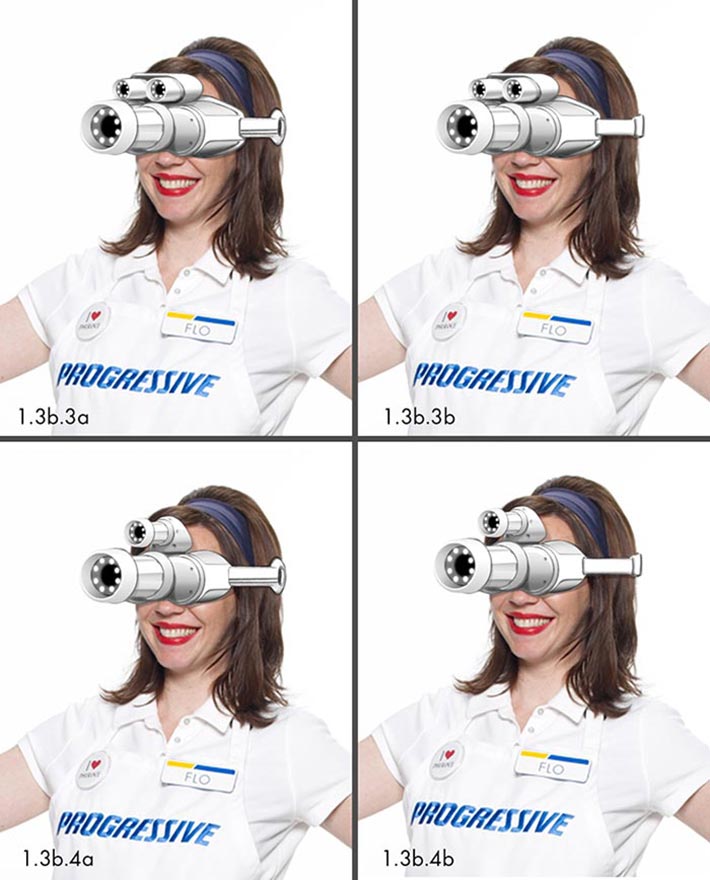
And finally they settled for this Design:
2) Modeling
Here’s my process:
I started blocking the shape with some basic orthographic NURBs curves in Maya, which I then lofted, extruded and converted to Polygons:
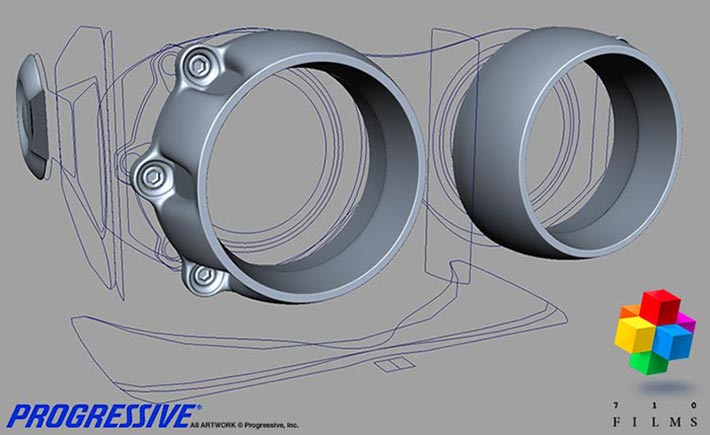
Here’s the final approved model:
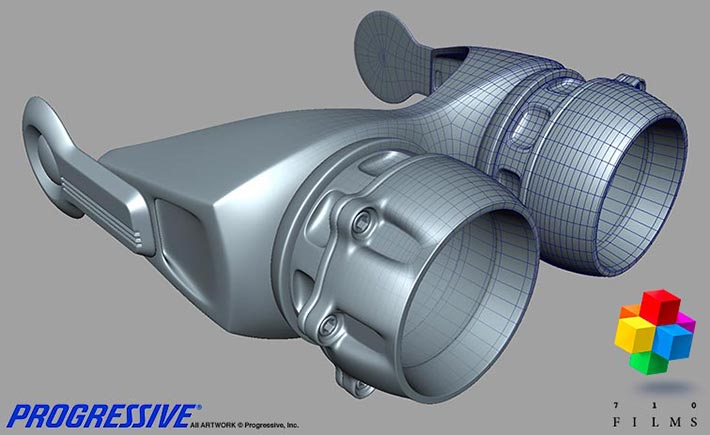
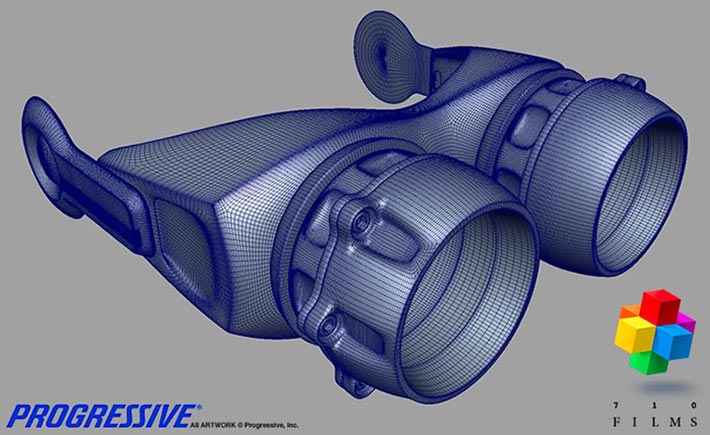
Then, time for Prototyping, I increased the resolution of the mesh to make the “triangulation of the Polygons denser”:
As for how I exported this model, I created a step-by-step tutorial here: http://www.710films.com/TutorialsTips/CG/RapidPrototyping/RapidPrototyping.html
3) 3D Printing
And here are some pictures from my 3D Printing process:
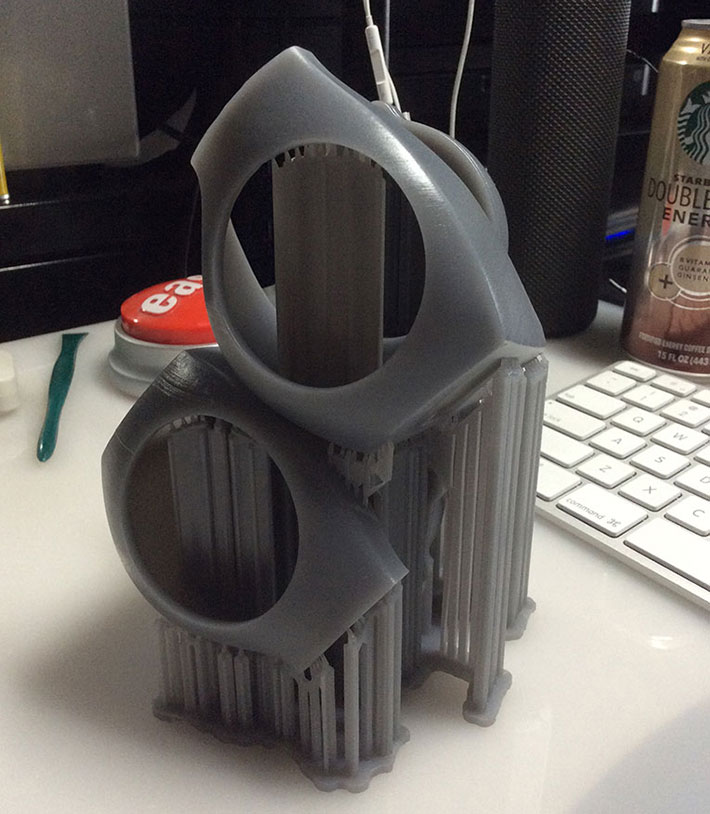
When possible, I try to “clump” the entire object (its pieces) in one print. However, this - if not done correctly, tends to lead to printing failures…
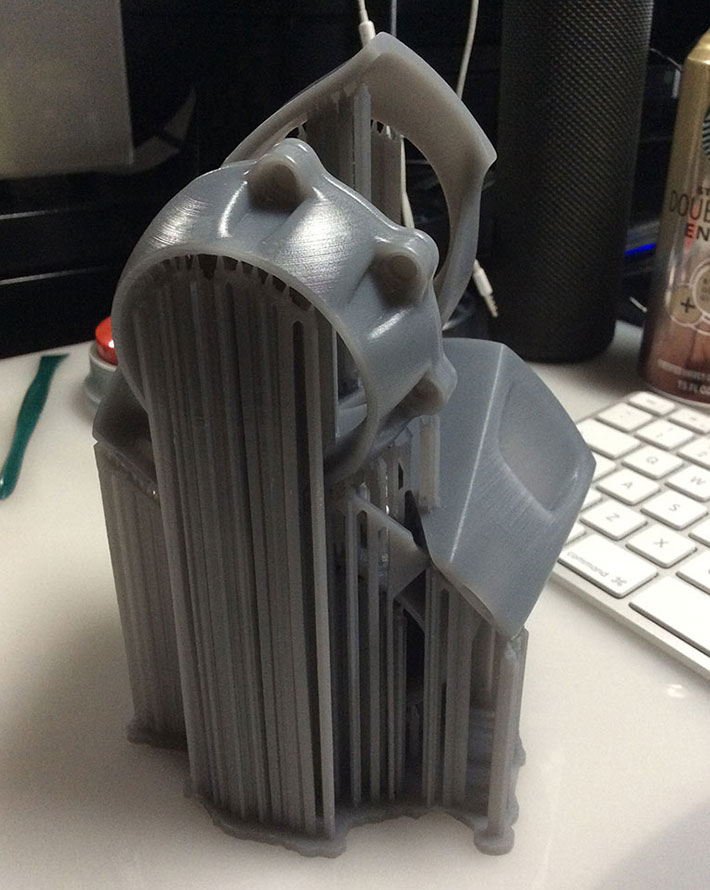
Here’s a view of the back-side of the “clump”…
Notice the “striation” of the print. This is due for low-resolution of the print, due to two simple factors: a) speed and b) “heavy-finishing” process. I chose to save time during the printing step because we were on a very tight deadline and at a low-resolution, it took 20 hours to print, and I also knew that we were going to have a very manual finishing process - gluing the parts together, sanding, spay-painting primer, more sanding, gluing actual bolts and a multiple paint-layering process…
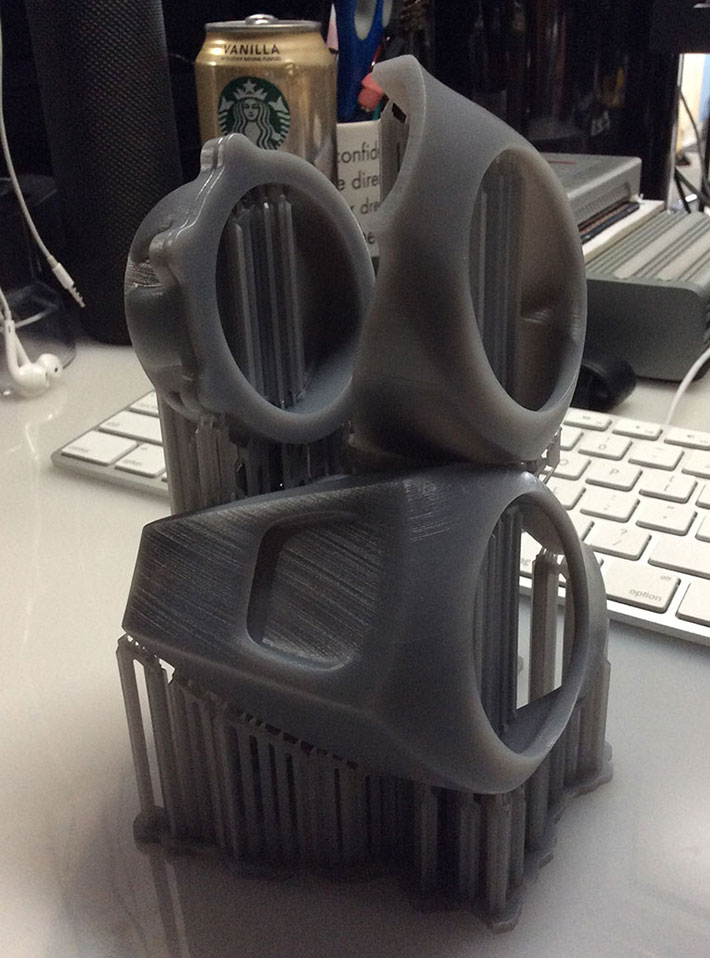
Having this piece printer at a high-detail level would have taken up to four-times as long, so 24 hours, and since the object - once glued together, didn’t have high detailed components, it was decided to leave the printing detail to the lowest possible. You sometimes have to balance printing speed Vs detail, determining the final output helps with this decision, so when it come to deciding, work backwards: is this a high-detail piece or can I print at lower detail-levels and save on time?…
And here’s the final fabricated-model:

(Click on the image to see a larger version of the final piece!)
4) The Final Commercial!
And here’s what the goggles looked like on the commercial:
If you are interest in us bidding for your project or if you have any questions on Props for Film and Tv, please do not hesitate to contact us!
Cheers!